Mini egg ice-cream
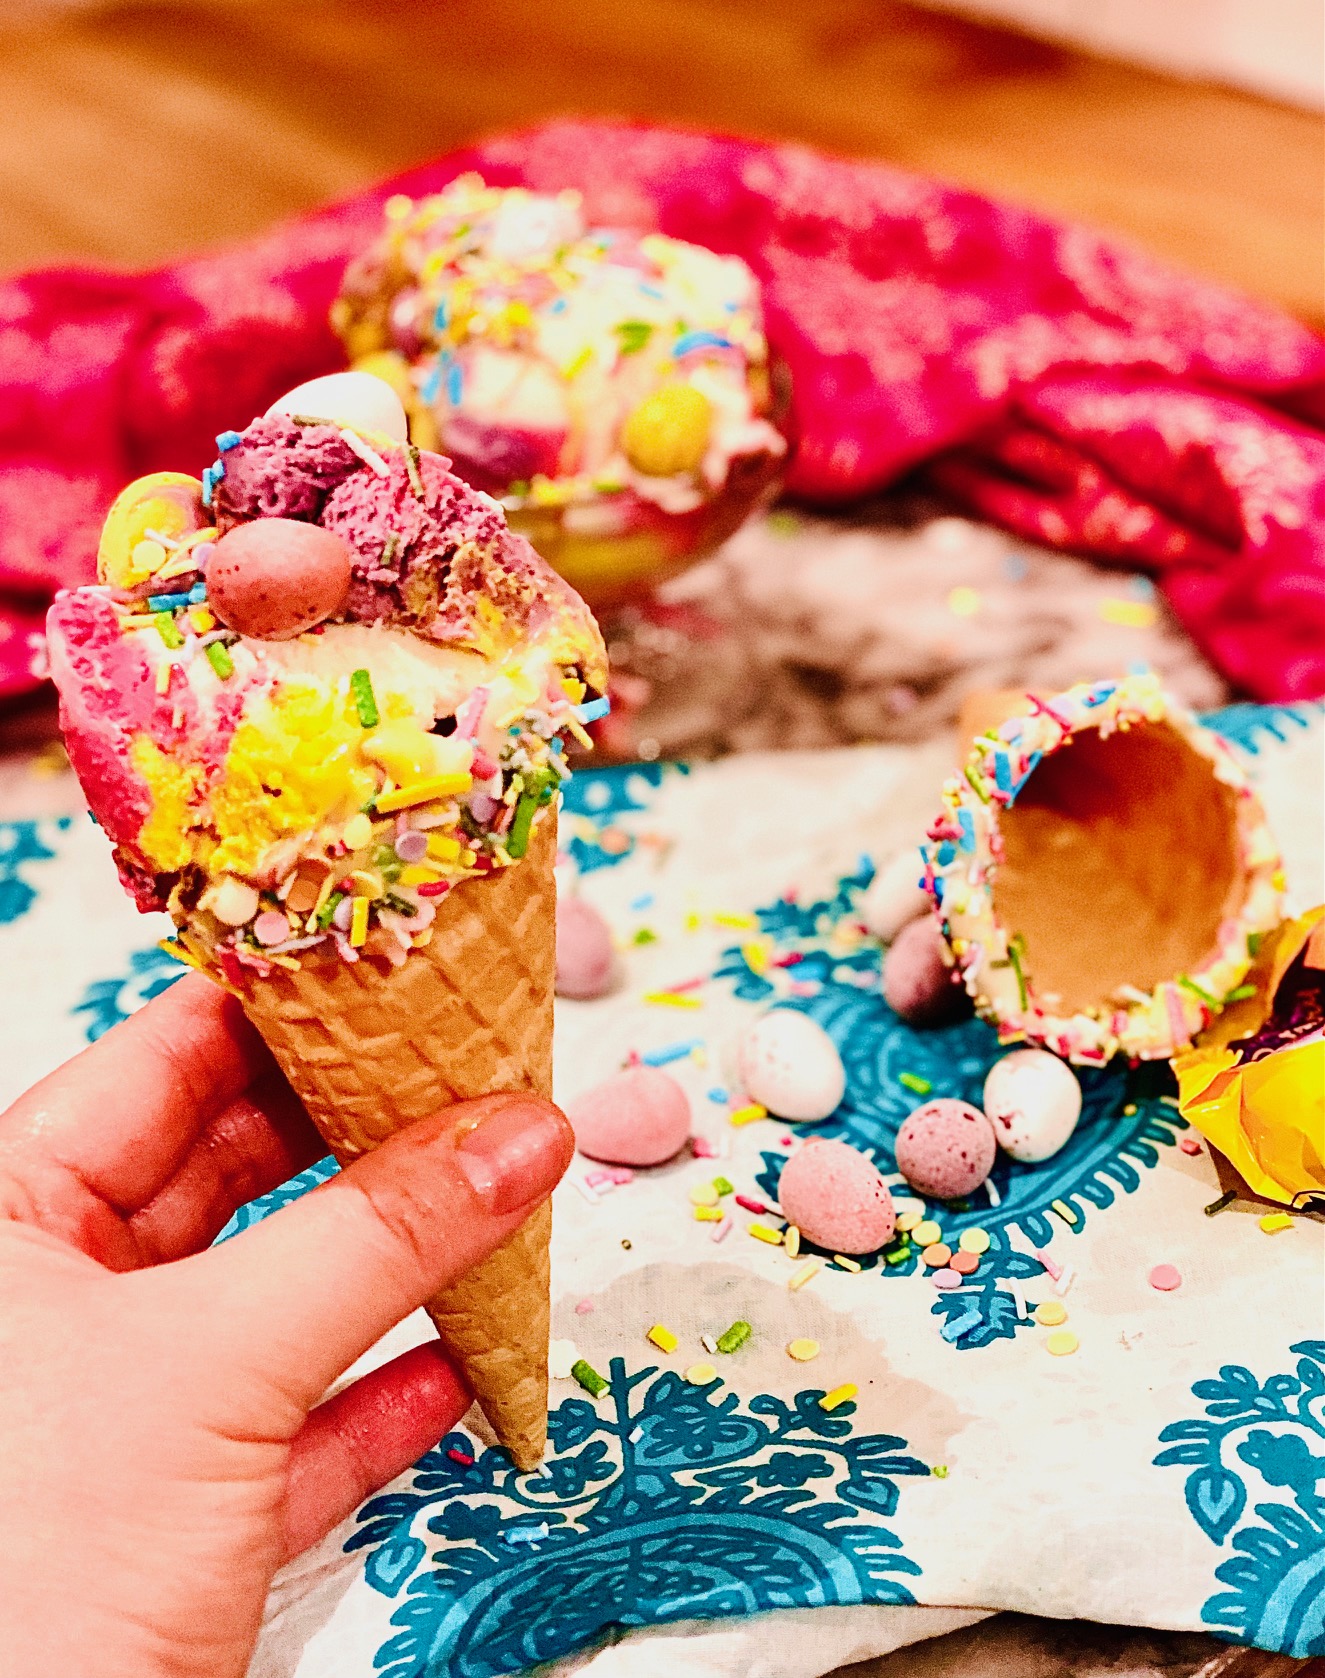
Mini egg ice cream – can you get a more joyful Easter treat? Mini eggs are some of my favourite springtime sweets; you know Easter is around the corner when they start to fill the shelves. I find that now more than ever the weather in April can be so varied; snow or heatwave…or anything in between for that matter. So, I thought, let’s cover all festive bases and make a no churn white chocolate ice-cream that screamed Easter celebrations and this really doesn’t disappoint.
Simple to make; whizz up the majority of the ingredients in a food mixer and layer in the sprinkles and mini eggs and freeze for 8 hours. Colouring some of the ice-mini egg colours just makes it even more fun, but is completely optional whether you choose to practice the delicate art of foo colouring 😉 Give this a go, I think you’ll enjoy it.
Mini egg ice cream
Ingredients
300ml double cream
½ tin condensed milk (of a 397g tin)
¼ tsp salt
4 tbsp white chocolate spread
1 vanilla pod (plus a little extra vanilla extract if you really want to add to the vanilla flavour)
50g sprinkles
70-80g crushed or chopped mini eggs
1 tbsp liquid glucose
Edible glitter sprinkled on top (optional)
Purple, pink and yellow food colouring (optional)
Method for Mini egg ice cream
Crush the mini eggs either in a sealable bag with a rolling pin or in a pestle and mortar, until you have a variety of pieces to scatter into and on top of your ice cream. Measure out your choice of sprinkles if using. Leave both to one side for later.
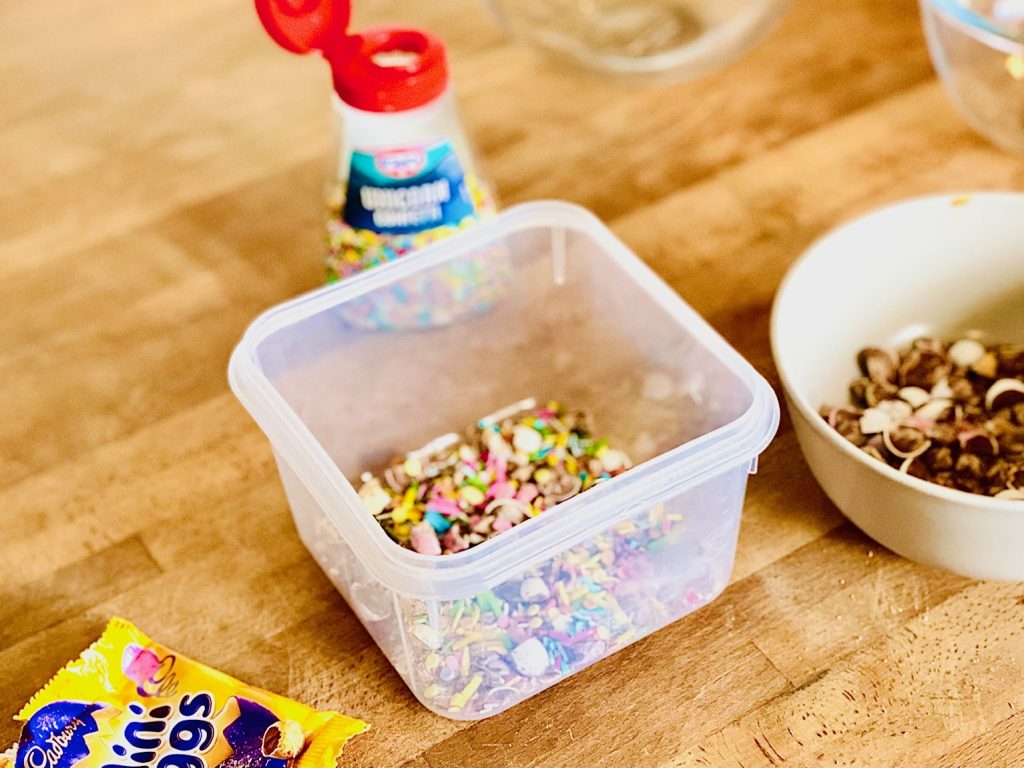
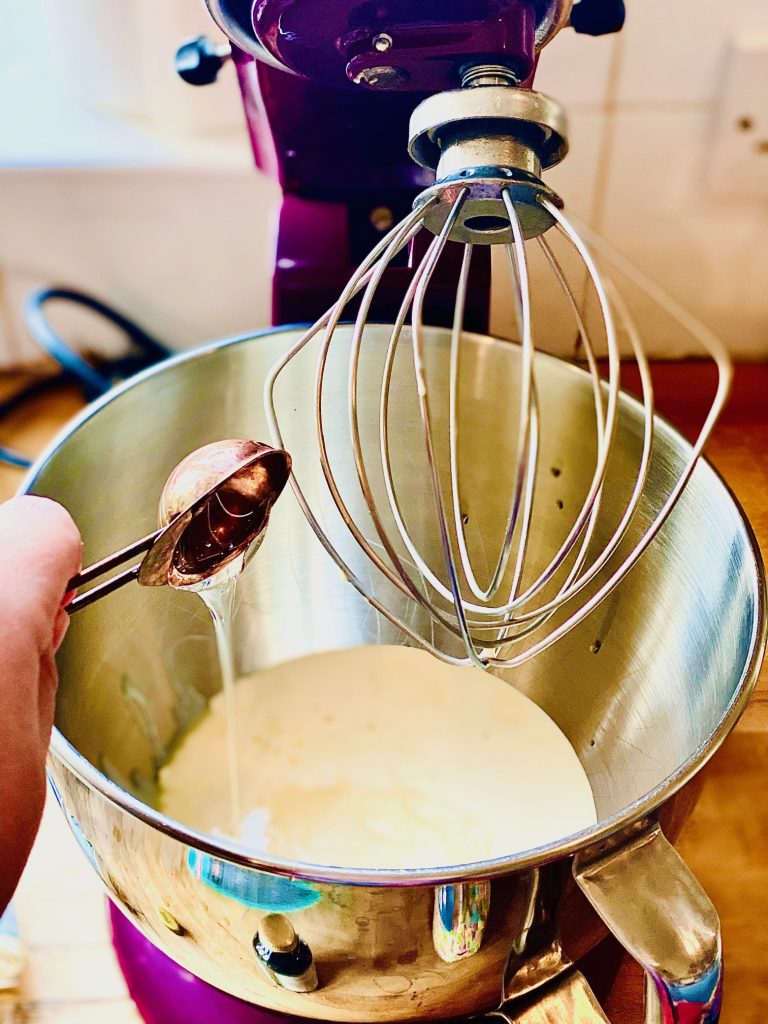
Add the double cream, condensed milk, salt, white chocolate spread and vanilla pod to a food mixer and begin to whisk.
When the cream begins to form soft peaks and you can see the whisk indentations in the cream add in the liquid glucose.
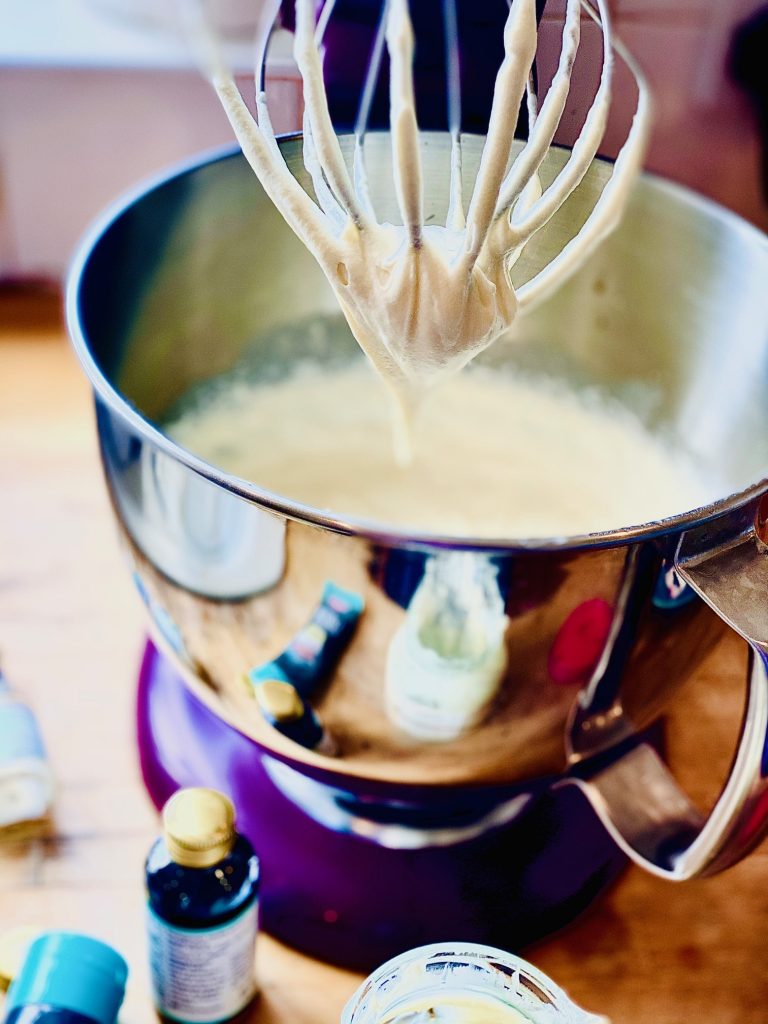
When the cream is whipped enough that it holds a peak when you lift the whisk out, its ready to put in your air-tight container. This happens very quickly, maybe 3 minutes on fast speed so keep an eye on it or you’ll come back to butter. Not what you want.
To assemble your ice-cream, add about a third of the mini eggs and sprinkles to the bottom of your airtight container. Then pour on a few spoonfuls of the ice-cream mixture. If you are colouring your mixture; take out a few spoonfuls each of the mixture and put into three separate small bowls. (I promise it will be worth all the extra washing up…or just pop them in the dishwasher when you’re done. 😊) Then add a small amount of the colour; one colour for each bowl, and stir to combine. Go easy with food colouring, a little goes a long way. Then you should have 3 small bowls of colourful ice-cream mixture and the rest of the white one too.
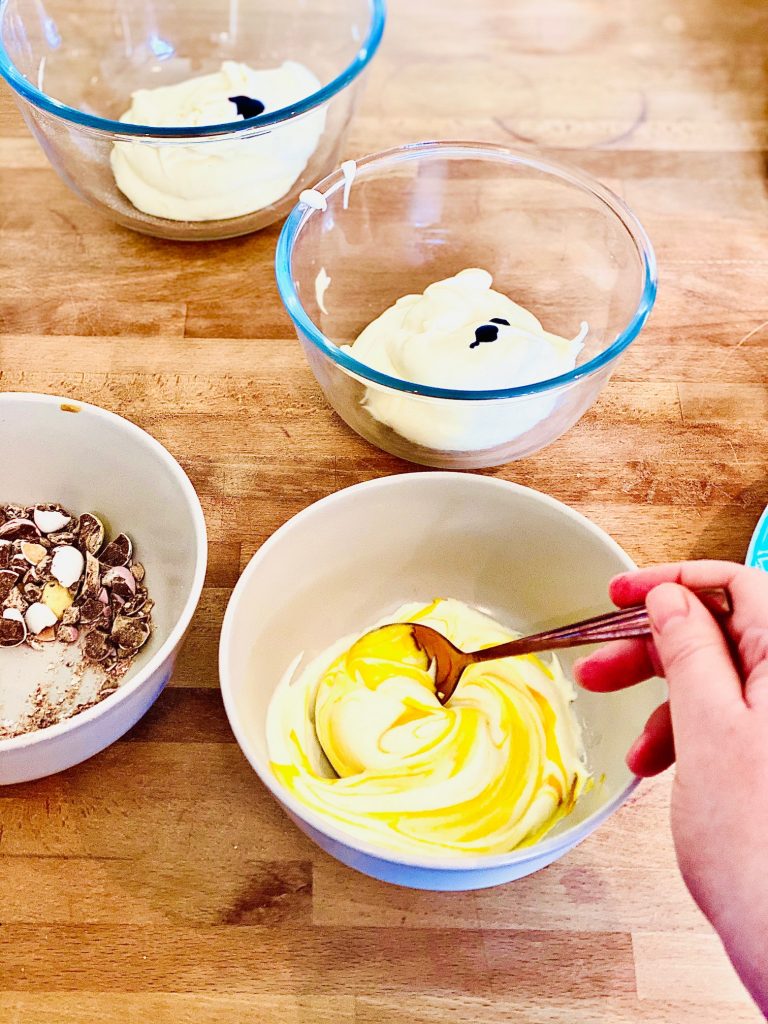
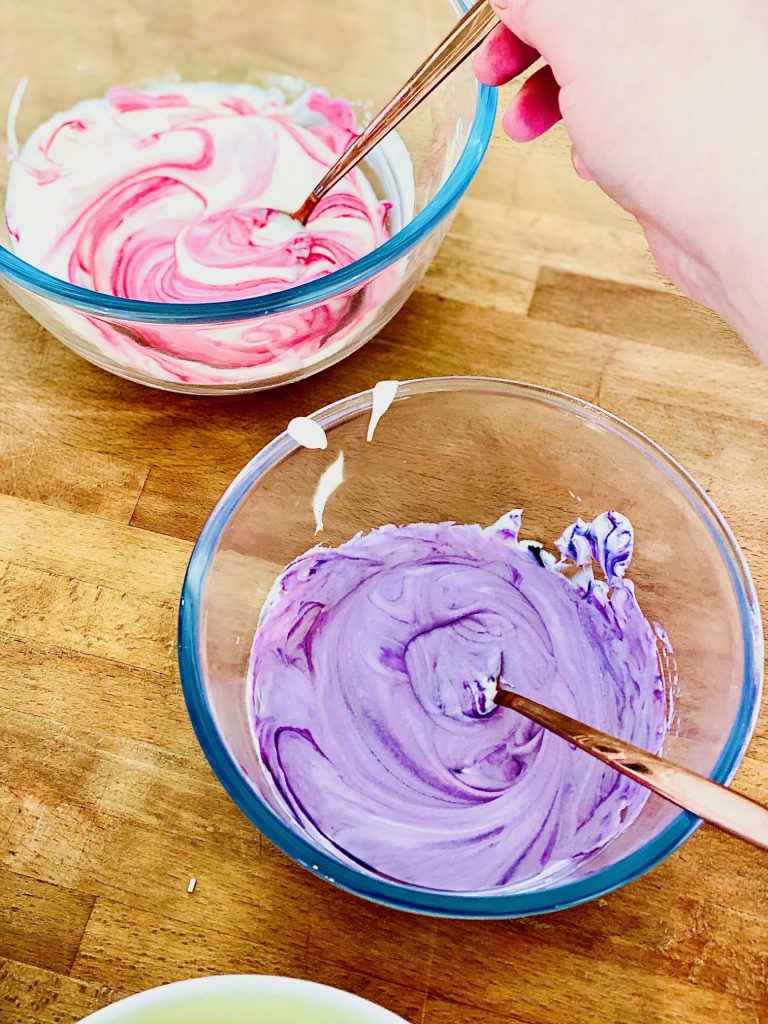
Add scoopfuls of each different coloured mixture and then gently swirl to combine. Depending on how much mixture you have left, you can swirl add another layer and add more mini eggs and sprinkles and then repeat, like a sweet lasagne, or just swirl one big layer and add all of your mini-eggs on top; its completely up to you. Let your creative instincts take over.
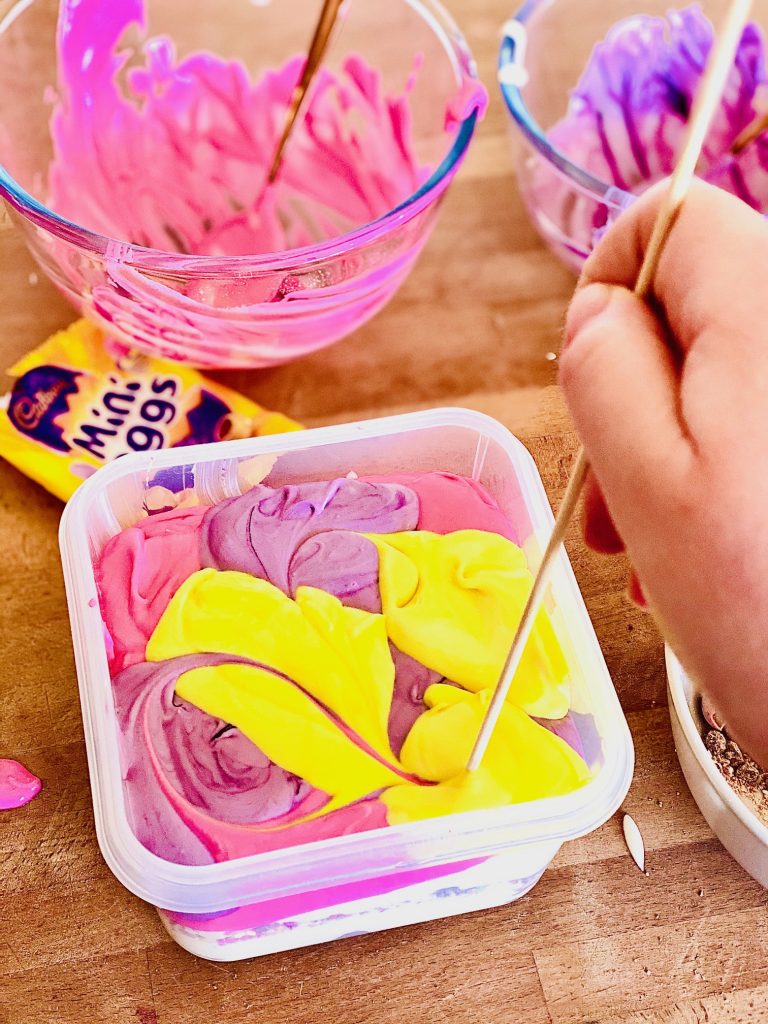
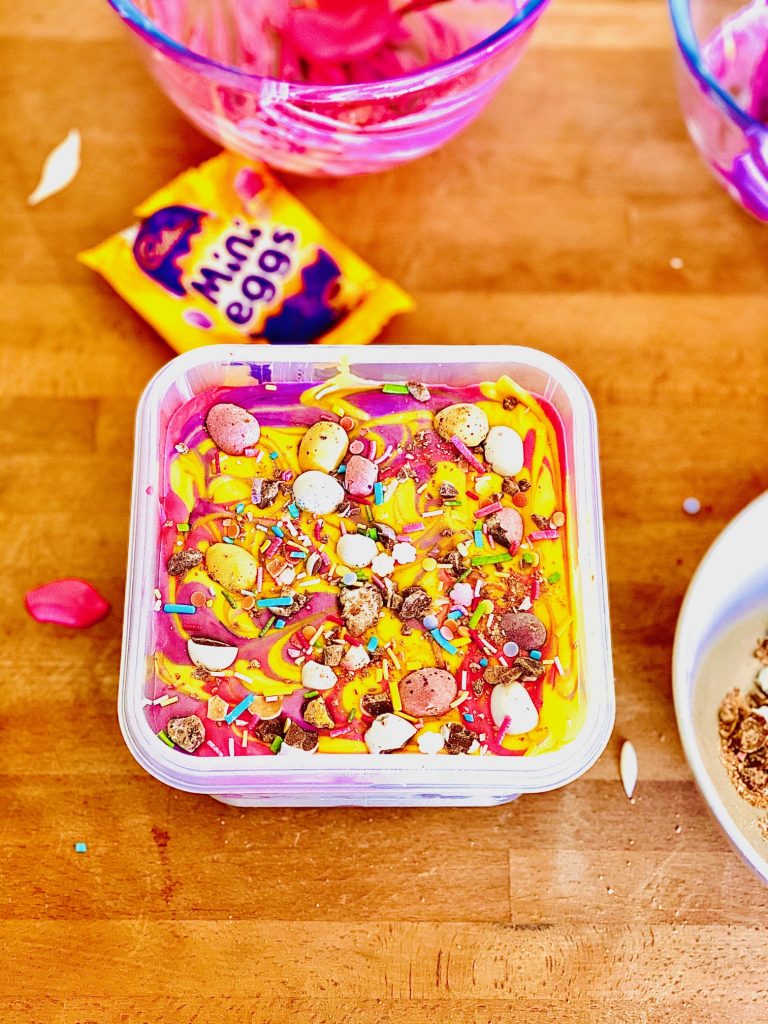
Quick tip – swirl with a tooth pick or skewer just enough to ripple the colours together; you don’t want to combine too much otherwise the distinctive colours won’t show.
Once you have added all of the mixture and toppings put the lid on and then put the container into a sealable bag. This will help prevent ice crystals forming in your ice cream while it is in the freezer.
Leave to freeze for at least 6 hours, preferably overnight.
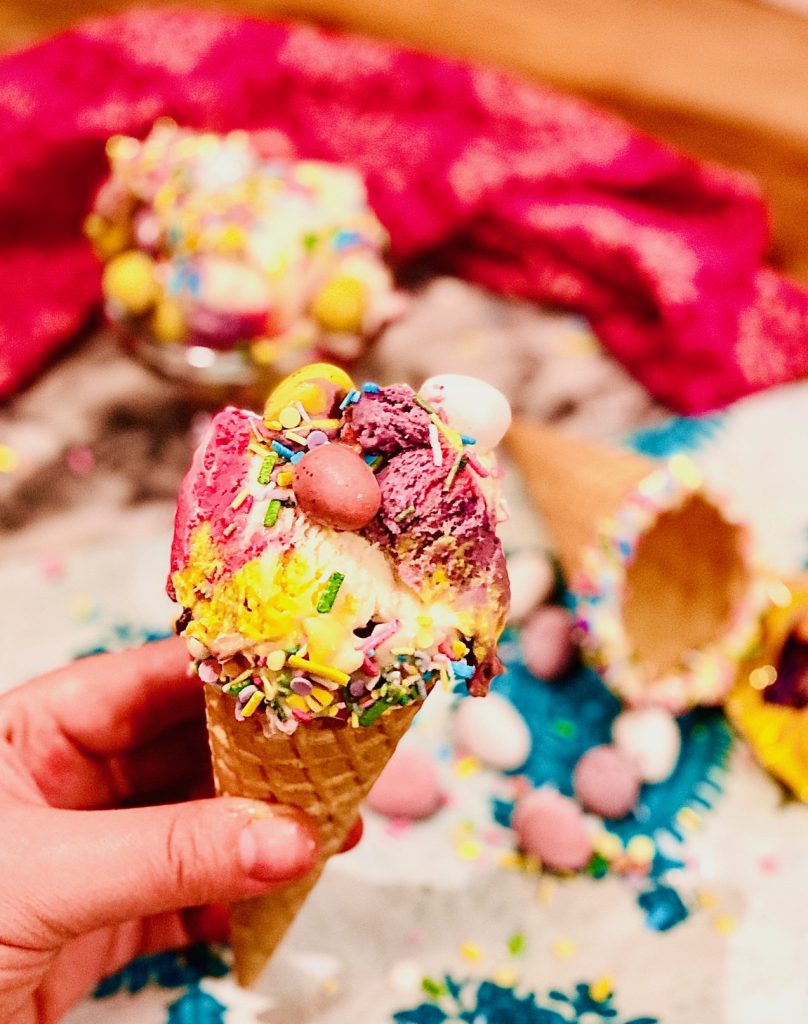
Once frozen this will last about 2 months in the freezer to have whenever you fancy.
Looking for more Easter party food ideas? Why not try my Easter Nest Doughnuts or my Lemon ginger carrot cake cupcakes
Looking for decoration tips for Easter? The Pioneer Woman has loads of DIY ideas on her blog and Hobbycraft have great suggestions too for kids.