Mini eggs chocolate fudge
Easter is most definitely the time to indulge in chocolate but if you want a fast no bake sweet treat this is the one for you. Mini eggs really are Easter to me. I get so excited spotting them in the shops for the first …
Playful yummy bakes for modern home bakers
Easter is most definitely the time to indulge in chocolate but if you want a fast no bake sweet treat this is the one for you. Mini eggs really are Easter to me. I get so excited spotting them in the shops for the first …
I love making homemade chocolates. They’re great as gifts and brilliant if you’re having people over because you can make them ahead of time but fudge making can be tricky. This recipe for chocolate coconut raspberry fudge is luckily a cheats alternative. No sugar thermometers …
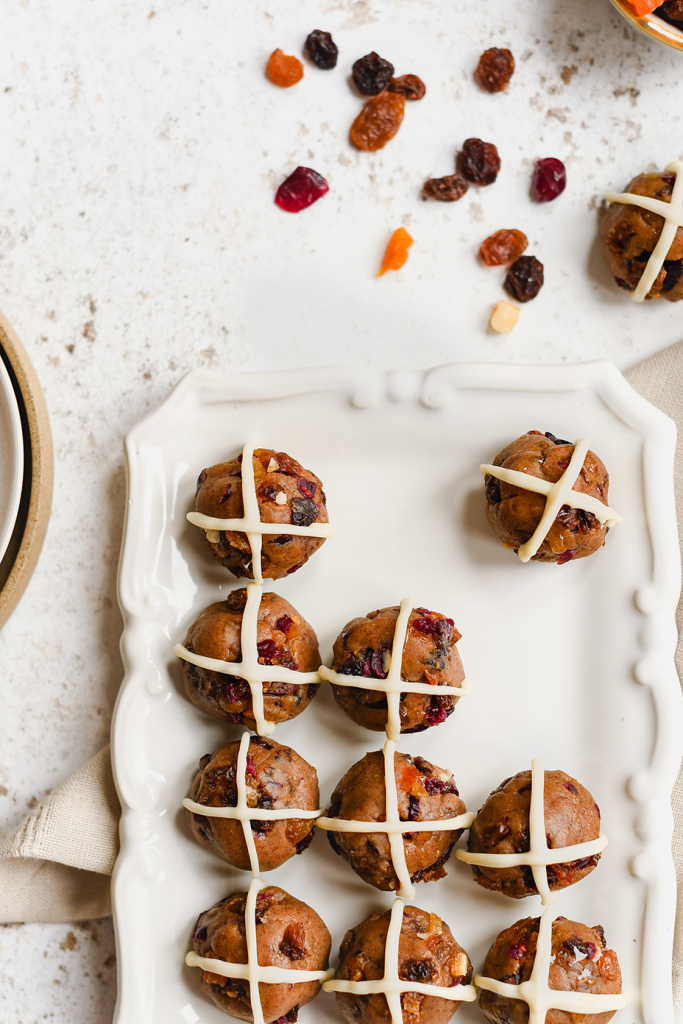
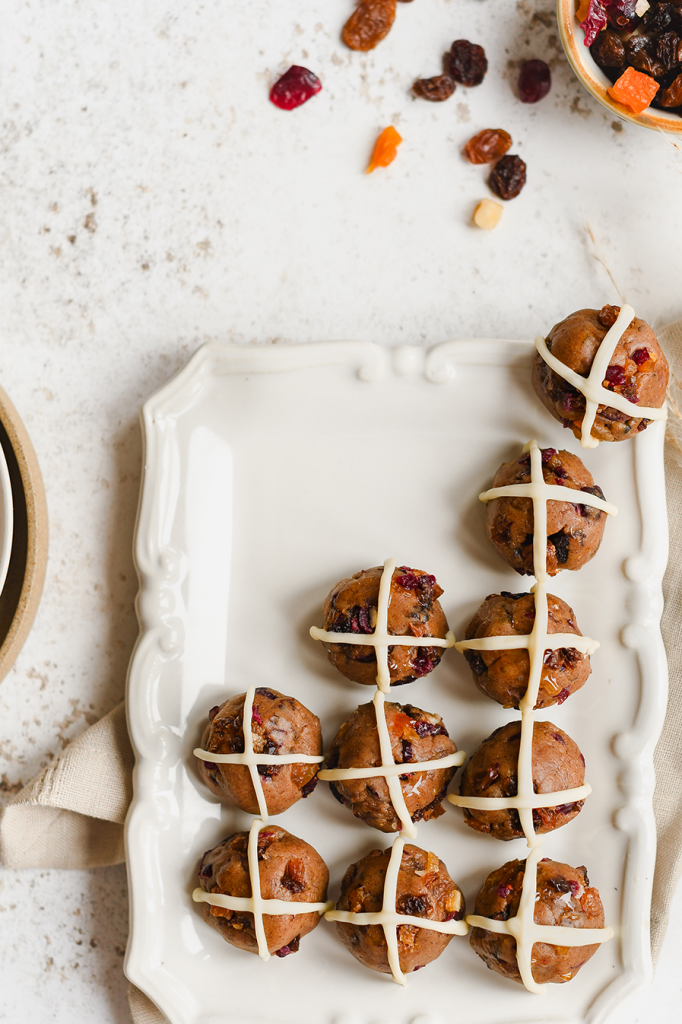
Easter baking is so much fun and just like Christmas it’s a great time to give little presents to celebrate the season. Hot cross buns sweets are a playful and delicious twist on the classic buns and make excellent, unique gifts.
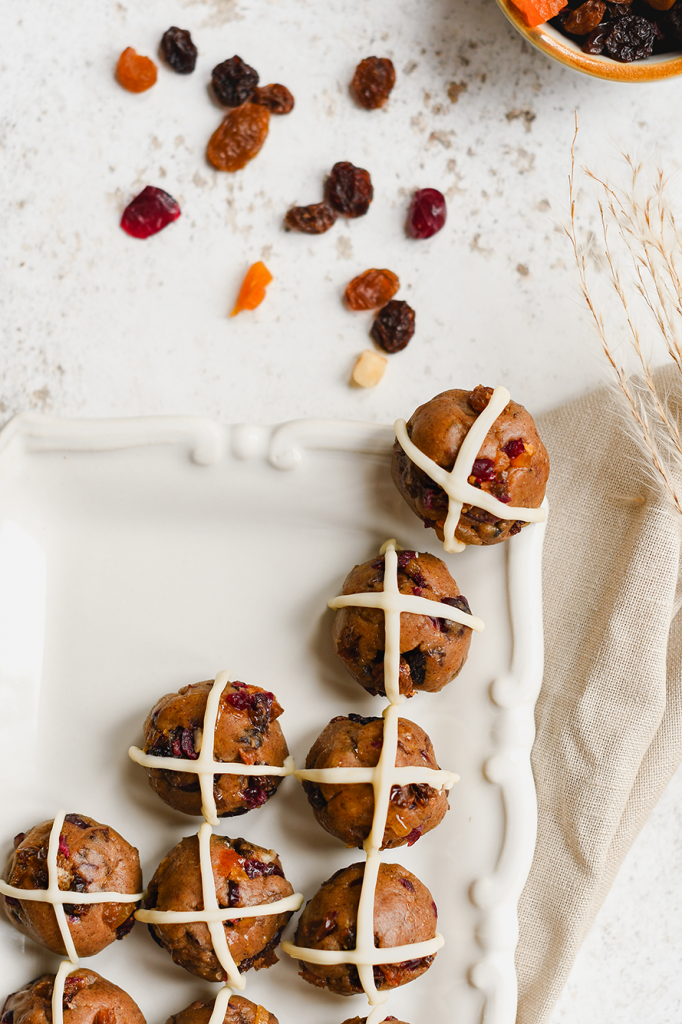
These fun cookie dough bites have all the flavours of hot cross buns without the baking so they are made in no time at all.
The flour is toasted here so the raw cookie dough is nice and safe to eat and a great treat for kids to help you make too.
A cute addition to your Easter party table for sure. If you’re not mad on dried fruit just substitute the amount for chocolate chips, works so well. Plus, sub out the butter and white chocolate for vegan friendly options and you’ve got yourself a vegan sweet too. So simple. Give them a go and let me know what you think.
130g plain flour
90g golden syrup
60g unsalted butter
1 tsp mixed spice
1 tsp ground cinnamon
⅛ tsp ground cloves
¼ tsp salt
1 tsp vanilla extract
Zest 1 lemon
100g dried fruit
30g white chocolate
Makes 16 hot cross buns sweets (approx 22g each if measuring)
Preheat the oven to 180°C (160°C in a fan oven)
Pop the flour onto a lined baking tray and cook for 10 minutes until lightly toasted. This will essentially cook out the raw flour and make the cookie dough safe to eat.
While the flour is toasting, melt the butter. Then add the melted butter to the golden syrup, lemon zest, spices and salt into a large mixing bowl and stir together to combine.
Finely chop the mixed fruit and leave about ⅓ back to roll the sweets in at the end.
Add the remaining chopped fruit to the bowl and stir.
Once the flour is ready and cooled slightly, sift it into the bowl then mix until the dough comes together.
Form the cookie dough into balls. I weighed mine out and made them roughly 20-21g each but you can do it by eye if you prefer.
Take a few of the small pieces of fruit and roll the ball in them so it starts to look more like a hot cross bun. Pop the finished sweet onto a lined baking tray.
Repeat for the rest until you are finished.
Pop the sweets in the fridge while you chop and melt the white chocolate for the iconic cross pattern.
Once melted, spoon the chocolate into a piping bag and pipe a cross on top of each sweet.
Refrigerate for a few hours or overnight so that they firm up a bit before serving.
The hot cross buns sweets will last for about a week in the fridge. I’d recommend letting them come to room temperature for about an hour before eating.
Looking for other fun Easter treats to make? Try our Giant mini eggs pop tart, Mini egg ice-cream, Double Chocolate Baked Doughnuts or Lemon Drizzle baked doughnuts – all so yummy
No bake recipes make me so very happy. There’s something about the simplicity of tinkering around the kitchen, prepping a few store bought ingredients and after a few hours being rewarded with something completely delicious. This ruby chocolate rocky road gives you all of this …
No bake peanut butter bars. So so yummy. Salty sweet bars crammed full of peanut butter, nuts and chia seeds and then topped with a delicious layer of dark chocolate. (Milk chocolate if you prefer). I just love recipes that don’t require too much putting …
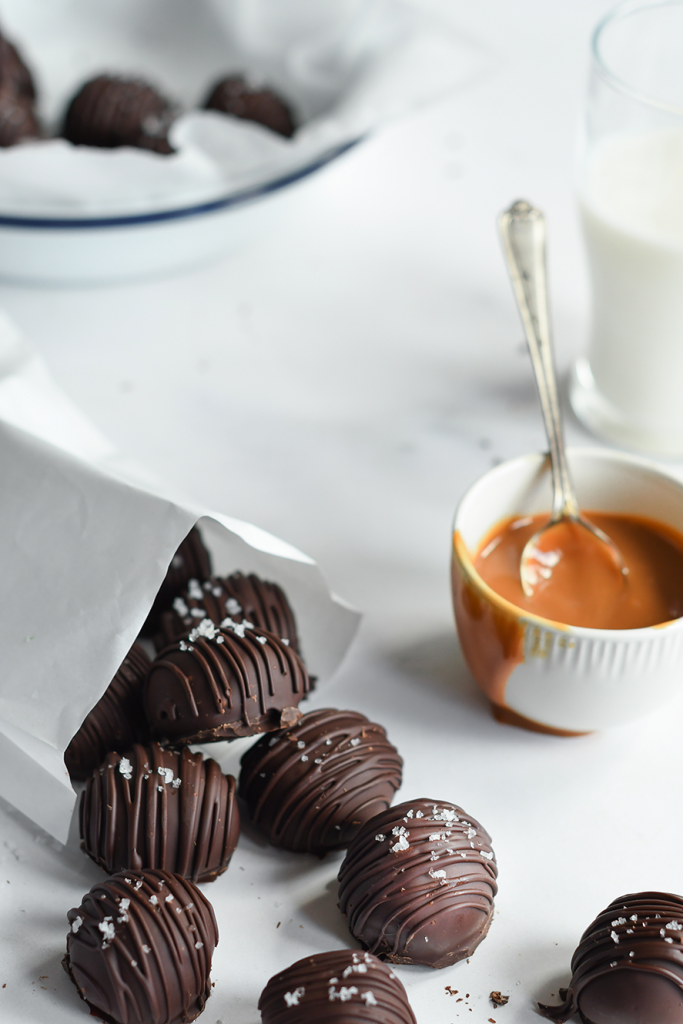
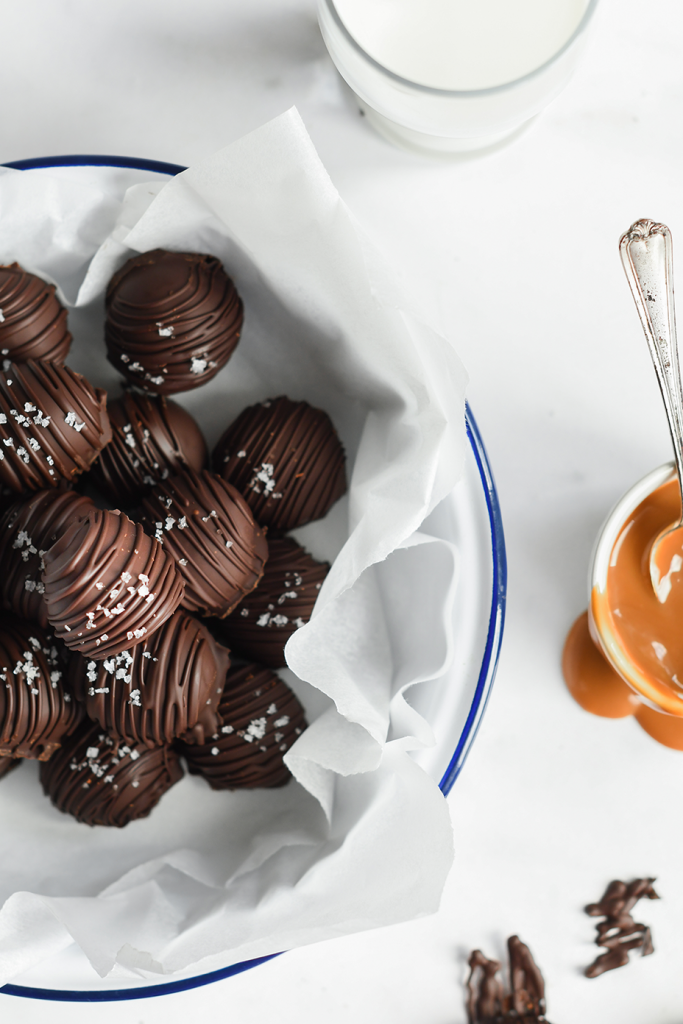
Salted caramel chocolate truffles; a seriously indulgent homemade treat. Amazing for homemade gifts and fab for special occasions. Everyone will go crazy for these delicious bites. Soft, caramel scented chocolate truffles coated in a gorgeous chocolate shell. Seriously show stopping treats. There are a few stages with this recipe, but none of them are difficult, they just require a bit of time. If you plan ahead, this no bake dessert is amazing and well worth the effort.
Making truffles is a lovely recipe to learn and once you’ve mastered them you can do so many flavours and combinations. Even though making ganache is easy there is a trick to it to avoid the base from splitting; which has happened to me a few times. The best piece of advice is to be patient and keep everything on a nice gentle heat and you’ll be fine.
250g dark chocolate (I use an inexpensive dark chocolate for this, something like Tesco dark chocolate, works so well)
100ml double cream
1 tsp vanilla extract
½ tsp salt (plus a little extra to sprinkle on top of the truffles (optional)
1 ½ tsp ground coffee powder
5 tbsp dulce de leche
230-250g dark chocolate (I always use Lindt, it melts beautifully and you definitely want a good quality chocolate for this part of the recipe, so it has a gorgeous crispy shell for the truffle)
Sea salt to sprinkle on top (optional)
Makes 24 truffles
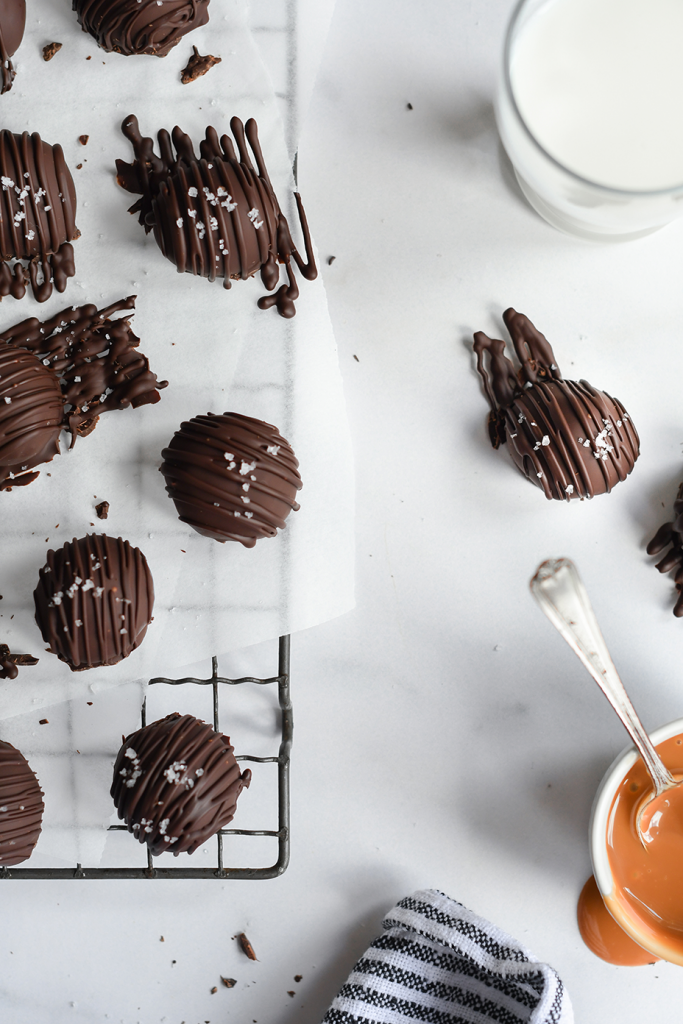
Finely chop the dark chocolate so that it’ll melt quickly when making the ganache.
In a large bowl pour in the double cream, vanilla extract, coffee, salt and dulce de leche. Then add in the chocolate shards and stir briefly.
In a small saucepan, start to heat a small amount of water which will be used to melt the chocolate. Once the water begins to simmer, put the large pyrex, heatproof bowl, on top of it and melt the ingredients together. This is such a simple way to make a ganache, which is what truffles are essentially.
Every so often stir the mixture. These are very easy to make but chocolate can be quite fiddly, particularly when making ganache so my advice is to keep the heat as gentle as possible, turning down the heat for the water if it is bubbling too much to help get a beautiful ganache. The water should be hot enough to melt the chocolate and combine everything together but not too hot which can make the ganache split, so a little patience goes a long way here. If the mix does split, and you’ll know if it has because the chocolate will look grainy, just stir in a little more double cream and the mix should smooth out again. No problems.
It should take about 5-10 minutes to make the ganache.
When the chocolate is all melted and you have a smooth mix, take the bowl off the heat and directly cover the surface with cling film to avoid a skin forming. Chill the mixture in the fridge for a few hours so that it thickens enough to roll into truffles.
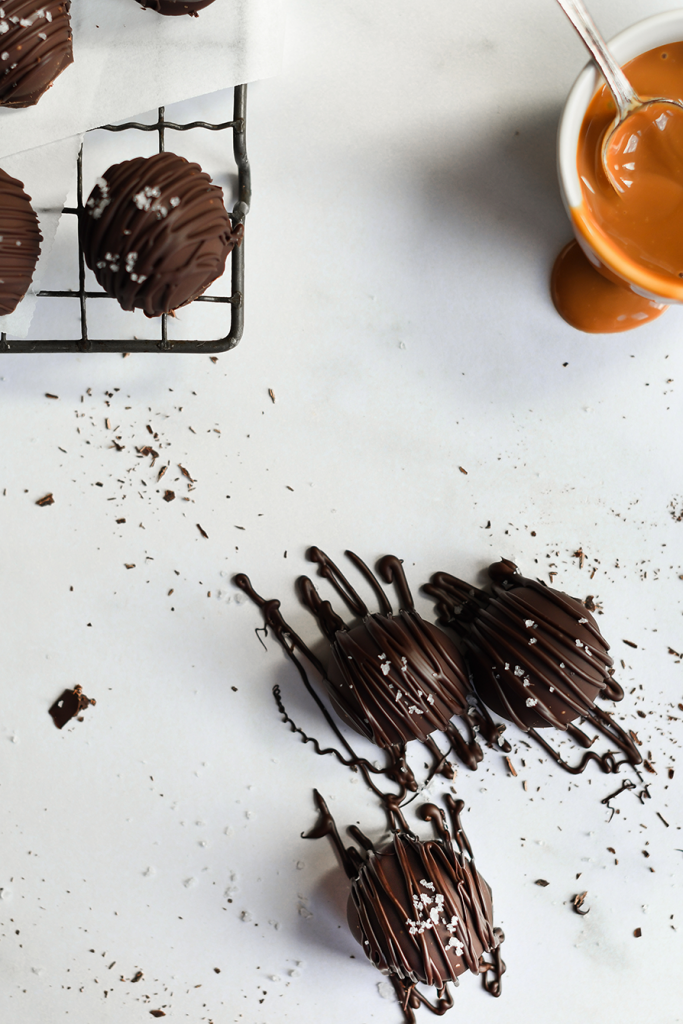
Once the ganache has chilled, take it out of the fridge and start spooning out small amounts to roll into truffles. If you want to weigh them, I’d aim for 16g each but you don’t have to weigh them if you don’t feel like it.
Once you’ve portioned out the ganache, quickly roll it in the palms of your hands to make a ball.
When you have rolled out all the truffles, chill again in the fridge for a few hours (or overnight) so they firm up enough to coat in chocolate. They will be softer than other truffles because of the yummy dulce de leche which will make them extra delicious when you eat them, but it just means it takes a little while longer to help them set.
Finely chop the chocolate. (I’d recommend dividing the chocolate into two batches to coat the truffles because if you melt all at once it will likely firm up too much before you have coated all the truffles, and you want the chocolate to be silky smooth when it coats the truffles for the best finish.)
With the half of the chocolate you are working with, put about ⅔ into a heat proof bowl. Melt the chocolate gradually in the microwave in about 30 sec bursts. Stirring it occasionally to ensure that the chocolate is melting evenly and not getting too hot (this can make the chocolate go grainy).
Once the chocolate has melted add in the final ⅓ and stir quickly until it has all melted (popping it back in the microwave briefly if it needs help completely melting). This is a cheat’s way to temper the chocolate for the coating which works well and means you don’t need to invest in a sugar thermometer.
With a small spoon and fork, take a truffle one by one, and coat it in a layer of chocolate, patting the fork against the bowl to tap away any excess chocolate before placing onto a plate lined with greaseproof paper. Once you’ve coated half of the truffles in chocolate, pour the remaining chocolate into a small piping bag and drizzle chocolate over the top and add a light sprinkling of sea salt. (If you don’t have a piping bag then just use a small spoon to drizzle the chocolate over the truffles).
Then, repeat for the remaining truffles until they are all coated and decorated.
Pop the truffles in the fridge. They’ll last for 1-2 weeks in the fridge very well.
Looking for other no bake recipes? Try our Ruby chocolate valentines truffles or Chocolate peanut butter bites or Fruit and nut fudge
If you’re on the hunt for simple, no-bake goodies to treat yourself or the people you love to a gorgeous romantic treat have a go at these. Ruby chocolate valentines truffles are so delicious and really have the wow factor. Ruby chocolate is pretty special …
Fruit and nut fudge Fruit and nut is a classic combo and it works so well as a festive treat in this rich fruit and nut fudge. Filled with indulgent chocolate infused with coffee and vanilla, this is a seriously tasty no bake treat that …
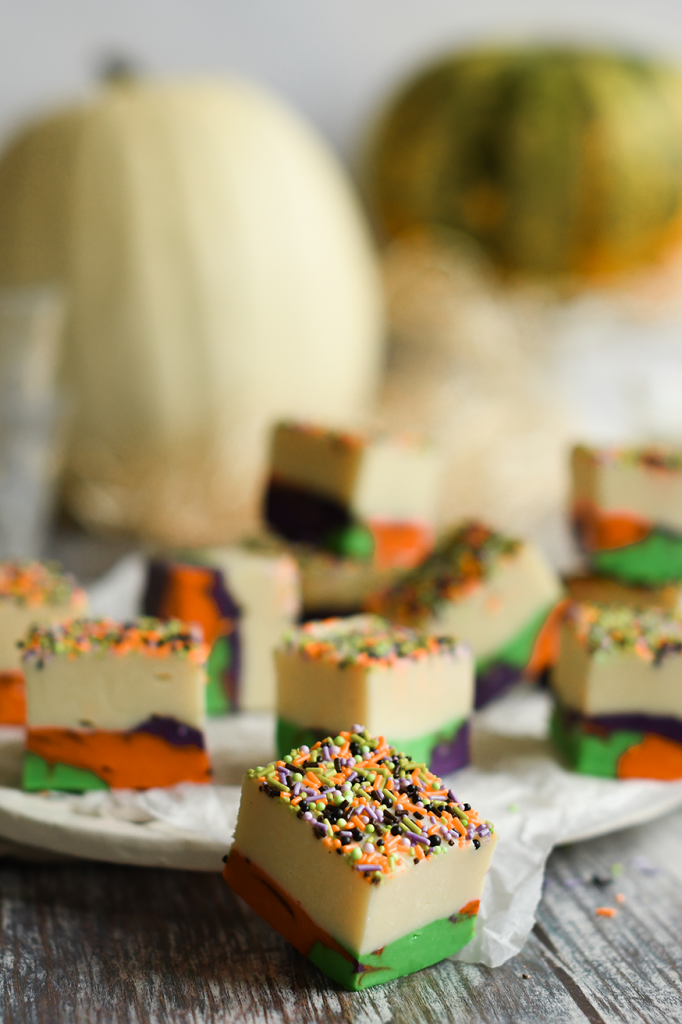
White chocolate Halloween fudge is so simple to make. With just a handful of ingredients you’ve got a super colourful treat that everyone will love. This is also an easy-peasy cheats fudge. No need for sugar thermometers, which really takes the stress out of things which I love.
Halloween and treats go hand in hand. So in my head the logic goes that we can indulge in as many sweet treats as we fancy right?? That means that as well as regular Halloween sweets from the shops, we can get all creative with spooky treats too. It’s handy to have a few no-bake recipes up your sleeve for big get-togethers around this time of year. An easy, no fuss homemade treat you literally pop in the fridge, ready for when you need it. That’s my kind of party food.
450g white chocolate
1 tin condensed milk (I always use Carnation for this)
2 tsp vanilla extract
Pinch salt
Food colouring (I used purple, orange and green for this recipe and use Pro Gel all the time, works so well)
Halloween sprinkles
Line a 1lb loaf tin with greaseproof paper and leave to one side while you make the fudge
Chop the chocolate into small pieces and pop into a saucepan. Pour over the condensed milk and add the vanilla extract and salt.
Over a low heat, gradually combine the ingredients until the chocolate has completely melted and the fudge has thickened. Keep stirring all the time with this one, white chocolate can be tricky to work with and you don’t want it to catch and burn on the bottom.
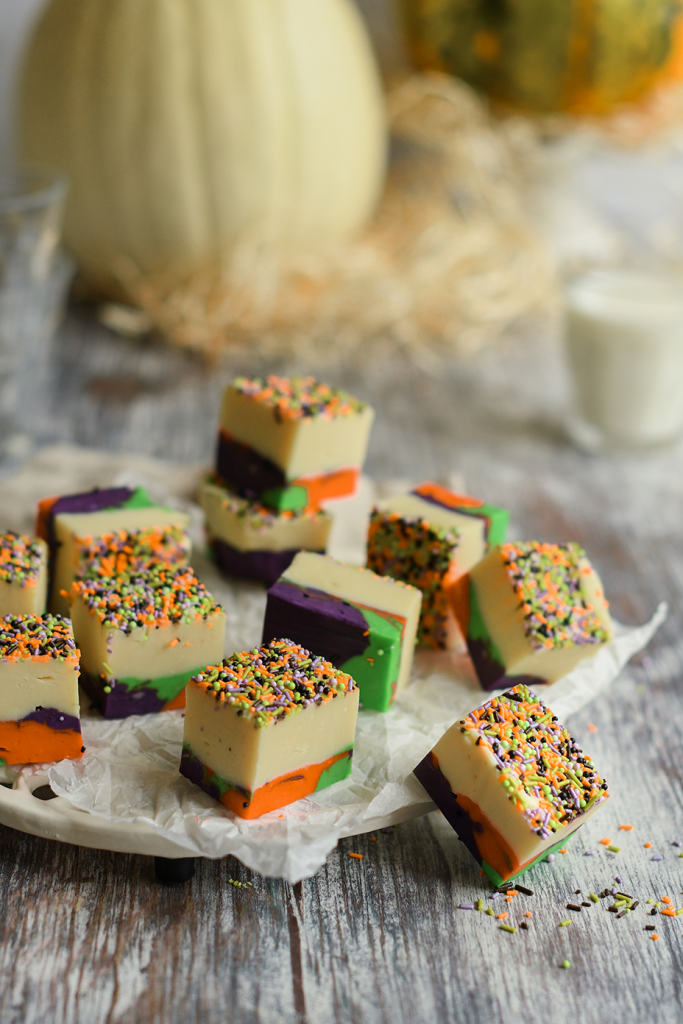
When the mixture is ready, turn off the heat and spoon in large dollops of the mix into three small bowls, ready to add the food colouring. You’re after about a 50/50 split, leaving half the remaining mixture to add to the top of the fudge later.
Add a few drops of gel food colouring and mix to create your purple, orange and green.
In the lined loaf tin, spoon on the different coloured fudge, alternating so that there will be a good colour contrast when you cut the fudge. When all of the coloured fudge has been added to the tin, use a bamboo skewer or a knife to gently ripple the mixture.
Pour in the remaining white chocolate fudge on the top and smooth with a palette knife.
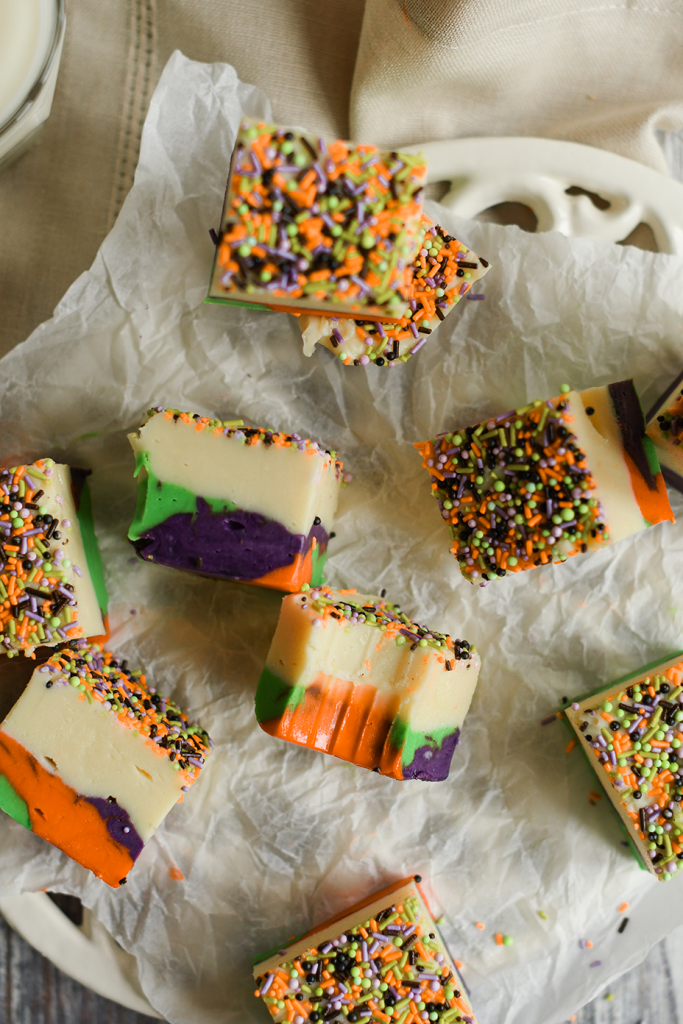
Dust with halloween sprinkles and then gently press down with your fingers, to help them stick to the fudge.
The white chocolate halloween fudge will take a few hours to set in the fridge and then it will be ready to cut into squares.
Once cut, the fudge is best stored in an airtight container in a cool dry place and will last about a week. It can be stored in the fridge, but you may find that the edges of the fudge dry out a little over time.
Looking for more simple Halloween bakes? Try our Halloween cupcakes – matcha mash or Monster cookie cups – a Halloween must have or our Devilishly dark chocolate liquorice truffles – perfect for Halloween
Chocolate peanut butter bites. Goodness, do I love these. I know you should play favourites but I’ve got to say, I make these no-bake snacks more often than anything else and they are such a winner with my husband, he absolutely loves them. Salty, sweet …