Halloween splatter cookies

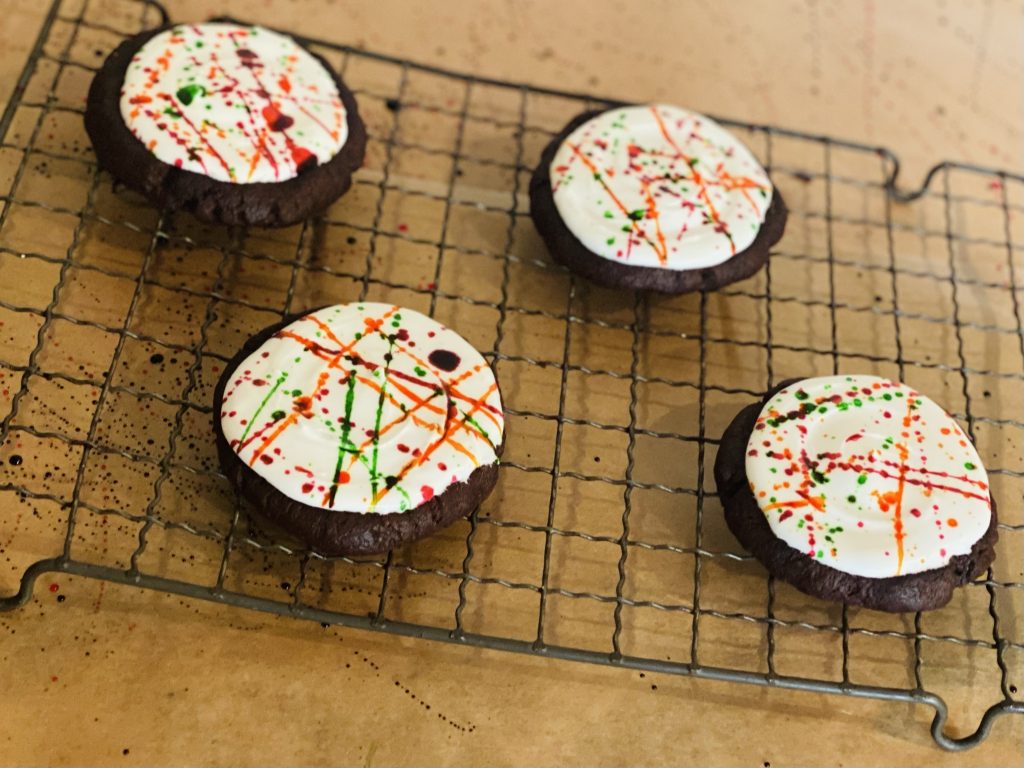
Halloween splatter cookies. Trick or treat definitely comes to mind here. Splatter is the optimal word for these little terrors…the process rather than the product is the true demon here. To look at them you’d think, wow, Halloween chic; Jackson Pollock meets baking, fab but the decorating can be a bit of a, hmm, witch.
This was my first experience as splatter artist, so my lesson, cover everything and you’ll be fine. The colouring does come out, promise, but man do those bad boys’ travel.
Honestly, so many conflicting thoughts came into my head when I was decorating them. As each colourful splinter launched off my spoon, I kept thinking, what am I doing and what am I encouraging others to do (??!!) all the while with a mischievous grin plastered all over my face. So much fun, naughty, naughty fun. Frankenstein bringing life to his monster, that’s all I’m saying.
Using the tried and tested Halloween trifecta, purple, green and orange, I went to town. Royal icing was my base, making all the colours pop and the deeply dark chocolatey cookie underneath acts as a reminder that we are indeed in the spooky season.
A bake to get those creative juices flowing, as long as you prep first. Have a go!
Halloween splatter cookies
Ingredients
270g plain flour
55g cocoa powder
½ tsp vanilla extract
1 ½ tsp instant coffee granules
70g caster sugar
30g light brown sugar
225g butter (cold)
¼ tsp salt
¼ tsp ground cinnamon
Mixture of food colours for decoration (purple, orange and green)
Royal icing (see recipe BBC good food)
Makes approx. 12-14 cookies
Method for Halloween splatter cookies
To make the royal icing follow the directions in the link above. Royal icing will last in an airtight container for months, so it’s worth making the whole batch and storing what you don’t use.
Sieve the cocoa powder, flour, salt and cinnamon together.
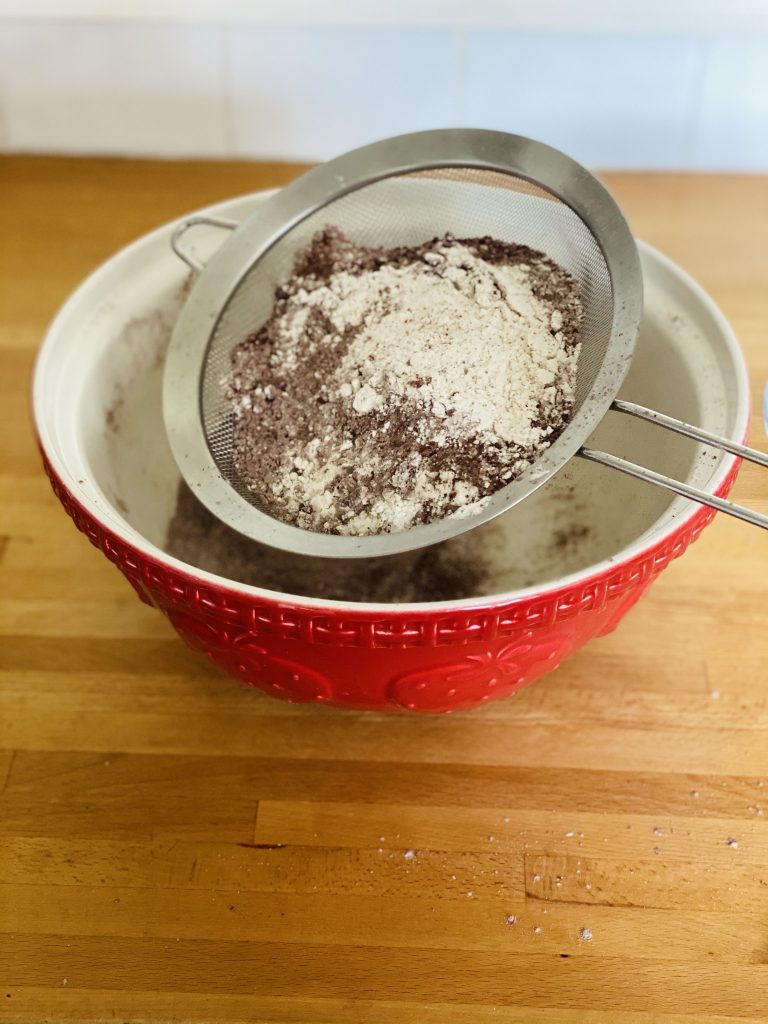
Cut the fridge cold butter into chunks and add to the dry ingredients.
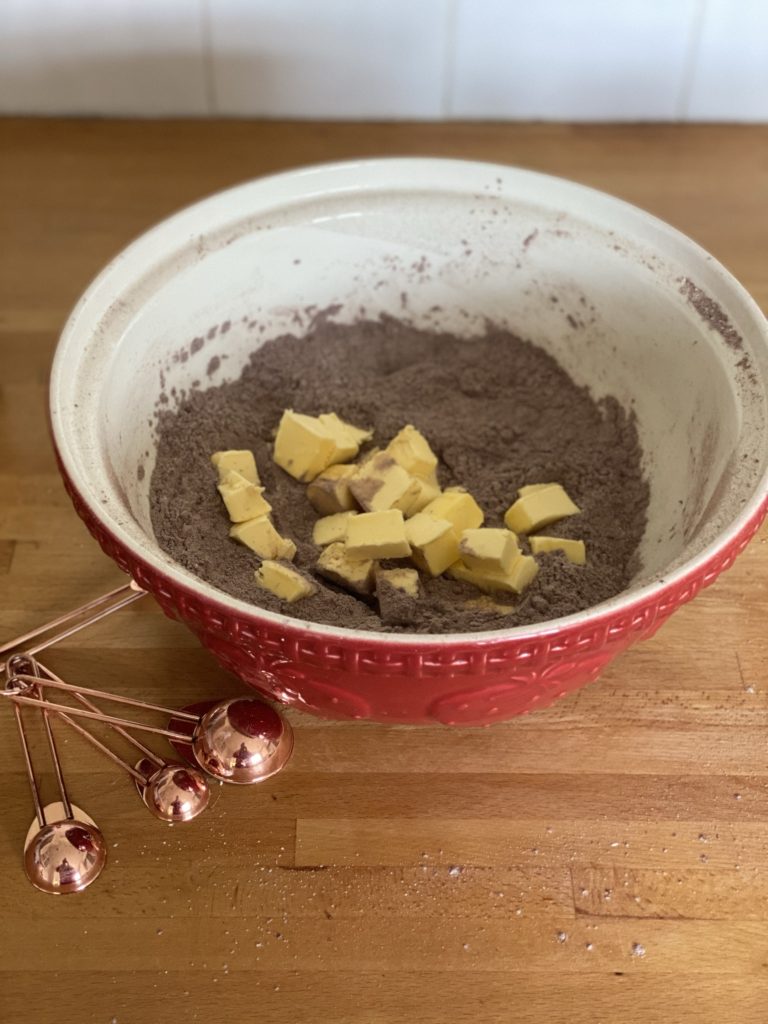
In a large bowl, rub the flour mixture and butter together with the tips of your fingers and thumb until no large chunks of butter remain and the mix resembles coarse breadcrumbs.
Add in the coffee granules, sugar and vanilla. Mix to combine.
Add the milk and gently bring the mix together into a large ball.
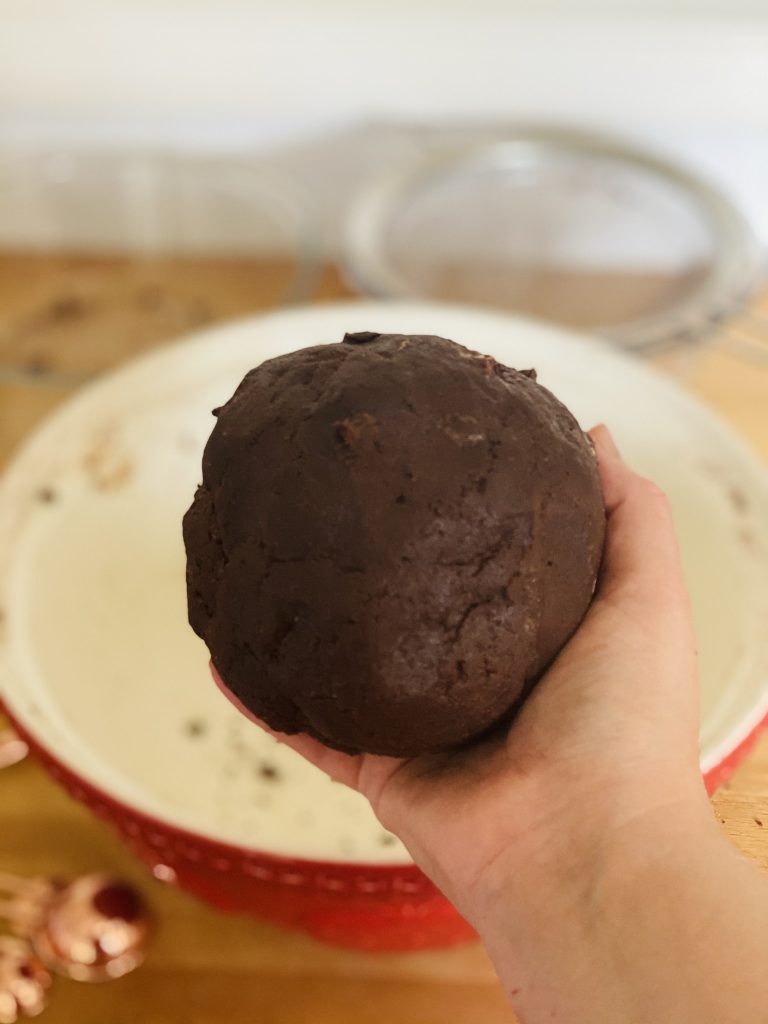
Cover and refrigerate for about 30 minutes.
Pre-heat the oven, 160°C.
Take a piece of the dough (about 40-50g) and roll into a ball. Put them onto a lined baking tray.
Coating the bottom of a glass in cocoa powder, press down onto the ball, making round disks. Mark the cookie a few times with a fork to prevent the cookie from rising too much in the oven and then bake for about 25-30 minutes. Turn the tray half way through to evenly cook the biscuits.
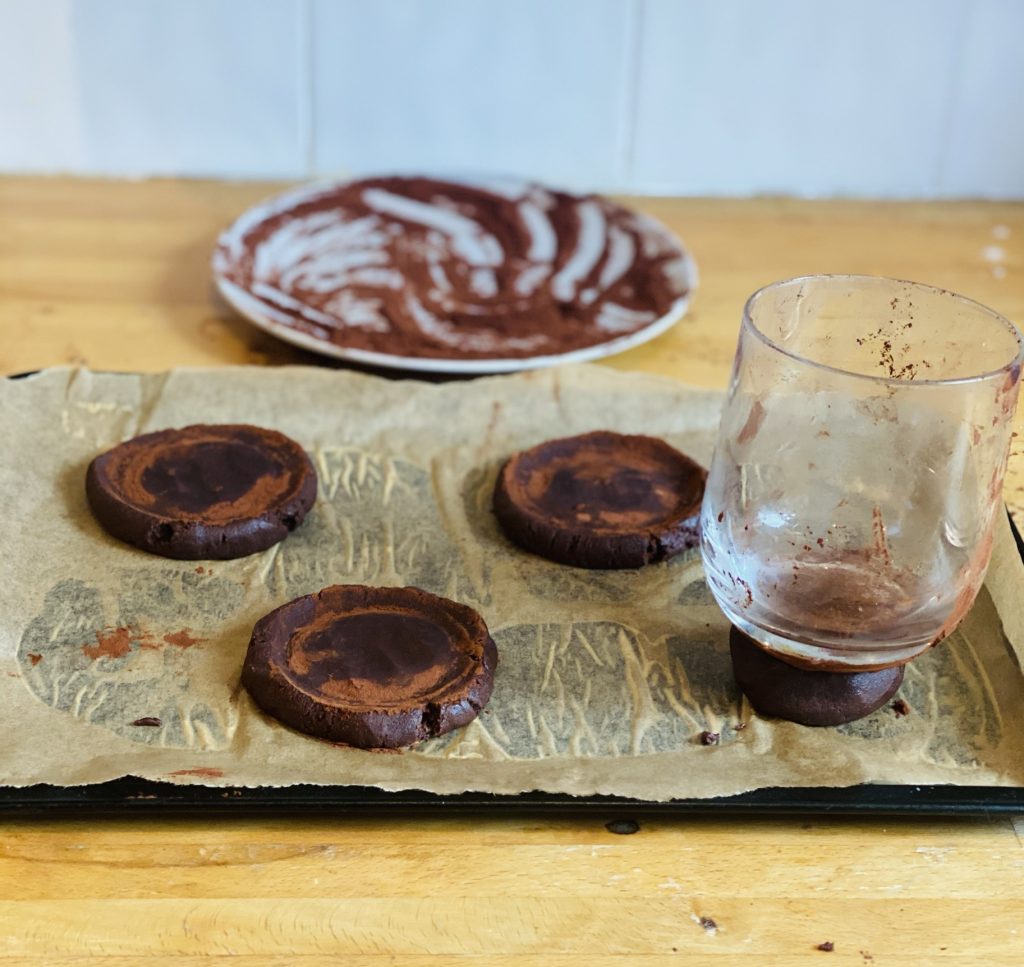
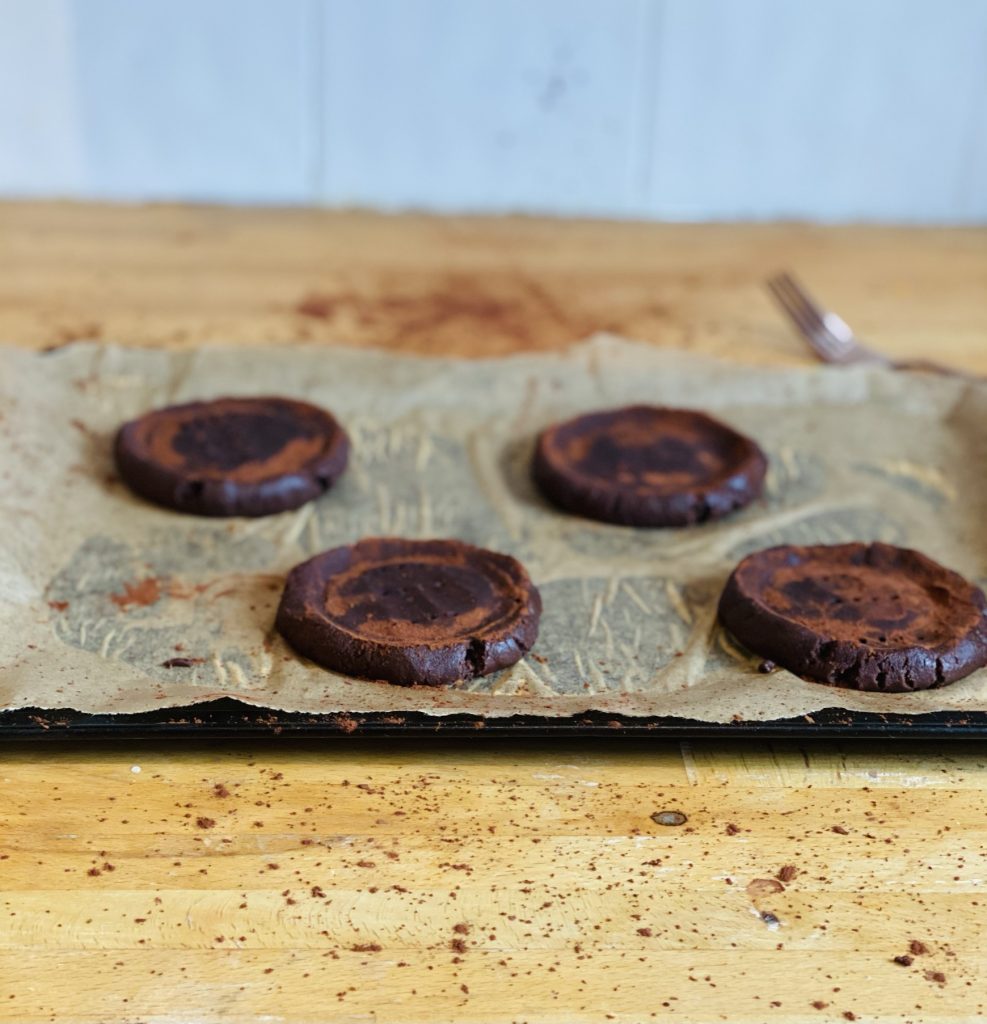
Once cooked, transfer the cookies onto a wire rack to cool.
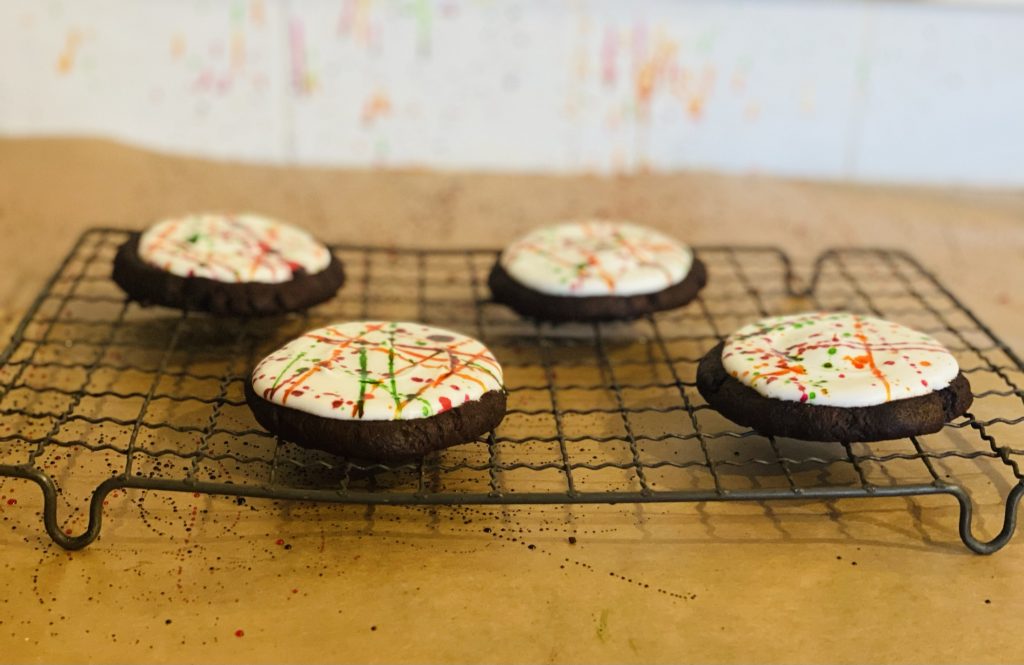
Using the back of a spoon, use a heaped teaspoon’s worth of icing and smooth out over the top of the cookie.
Cover a few of the cookies and then before the royal icing sets too much, splatter on the food colouring.
Tips
Cover the kitchen surfaces before you start to splatter!
Decorate a few cookies at a time.
Add a separate food colouring to each bowl.
Using a teaspoon, put a small amount of colour onto the spoon. Standing pretty close over the cookie, flick the spoon to create the pattern. Change up your angles to cover each cookie.
Less is more with the splatter effect, so go easy.
Don’t put too much colour on your spoon each time, the colour can run a bit when left to sit.
Use separate spoons for each colour otherwise you’ll end with a brown or grey dull looking colour base.
Get someone else to do the washing up 😊
Looking for other Halloween baking ideas? Try my Halloween cupcakes – matcha mash or my Monster cookie cups – a Halloween must have or even my Devilishly dark chocolate liquorice truffles – perfect for Halloween
Looking for Halloween drink ideas to go with all this food? BBC Good Food has some great suggestions.